Blog
Intro to the Flox CLI, part three: cloning, pushing, and pulling
Ross Turk | 26 Mar 2024

If you’re just joining us, this is part three in a series about using the Flox CLI to manage environments.
In part two, we created a Flox environment containing a package, an environment variable, an alias, and a shell hook. Upon entering our new environment, all of these worked in concert to display a cute ASCII friend. We installed software, configured it, and used it - all in a completely discrete, reproducible, and reversible way.
You can catch up by installing Flox and running these commands:
% mkdir -p ~/playgrnd/cows && cd ~/playgrnd/cows && flox init
% cat << EOF | flox edit -f -
[install]
charasay.pkg-path = "charasay"

[vars]
CHARACTER = "cow"

[profile]
common = """
  alias csay="chara say -c $CHARACTER"
  csay "welcome to your env"
"""

[options]
systems = ["aarch64-darwin"]
EOF
These lines cover a lot of ground! After running it, you will have an environment in ~/playgrnd/cows that contains the following:
- a package called
charasay - an environment variable called
CHARACTER - a shell script in the
profilethat creates an alias calledcsay(usingCHARACTER) and calls it
When you run flox activate from within ~/playgrnd/cows you will enter a subshell where all of that exists. When you exit, it’ll all be gone. Ok! You’re caught up.
Exporting and importing
One of the things that makes Flox useful is the ability to create and manage multiple environments. Let’s say you have a very urgent need for another environment, one where you are greeted by a friendly clownfish instead of a cow. I understand how that can be; let’s make it happen.
First, we’ll make a copy of our environment - let’s call it clowns. The first step is to create a new environment, so let's make a new directory in ~/playgrnd called clowns and initialize a new environment inside it.
% mkdir -p ~/playgrnd/clowns
% cd ~/playgrnd/clowns
% flox init
✨ Created environment clowns (aarch64-darwin)

Next:
  $ flox search <package>    <- Search for a package
  $ flox install <package>   <- Install a package into an environment
  $ flox activate            <- Enter the environment

%
Then, let's export the manifest from our cows environment and use it to replace the default manifest of our current one:
% flox list -c -d ~/playgrnd/cows | flox edit -f -
✅  Environment successfully updated.

%
When you run flox list -c, it returns an environment manifest that can be piped directly into flox edit -f -. Environment manifests are comprehensive, specific materializations of an environment.
A manifest tells Flox how to build an environment; and it’s what you see in your editor when you run flox edit, and what we piped into flox edit in the first block of this post. When we provide Flox with a new manifest, it immediately goes about the (often complex) task of making your wishes concrete.
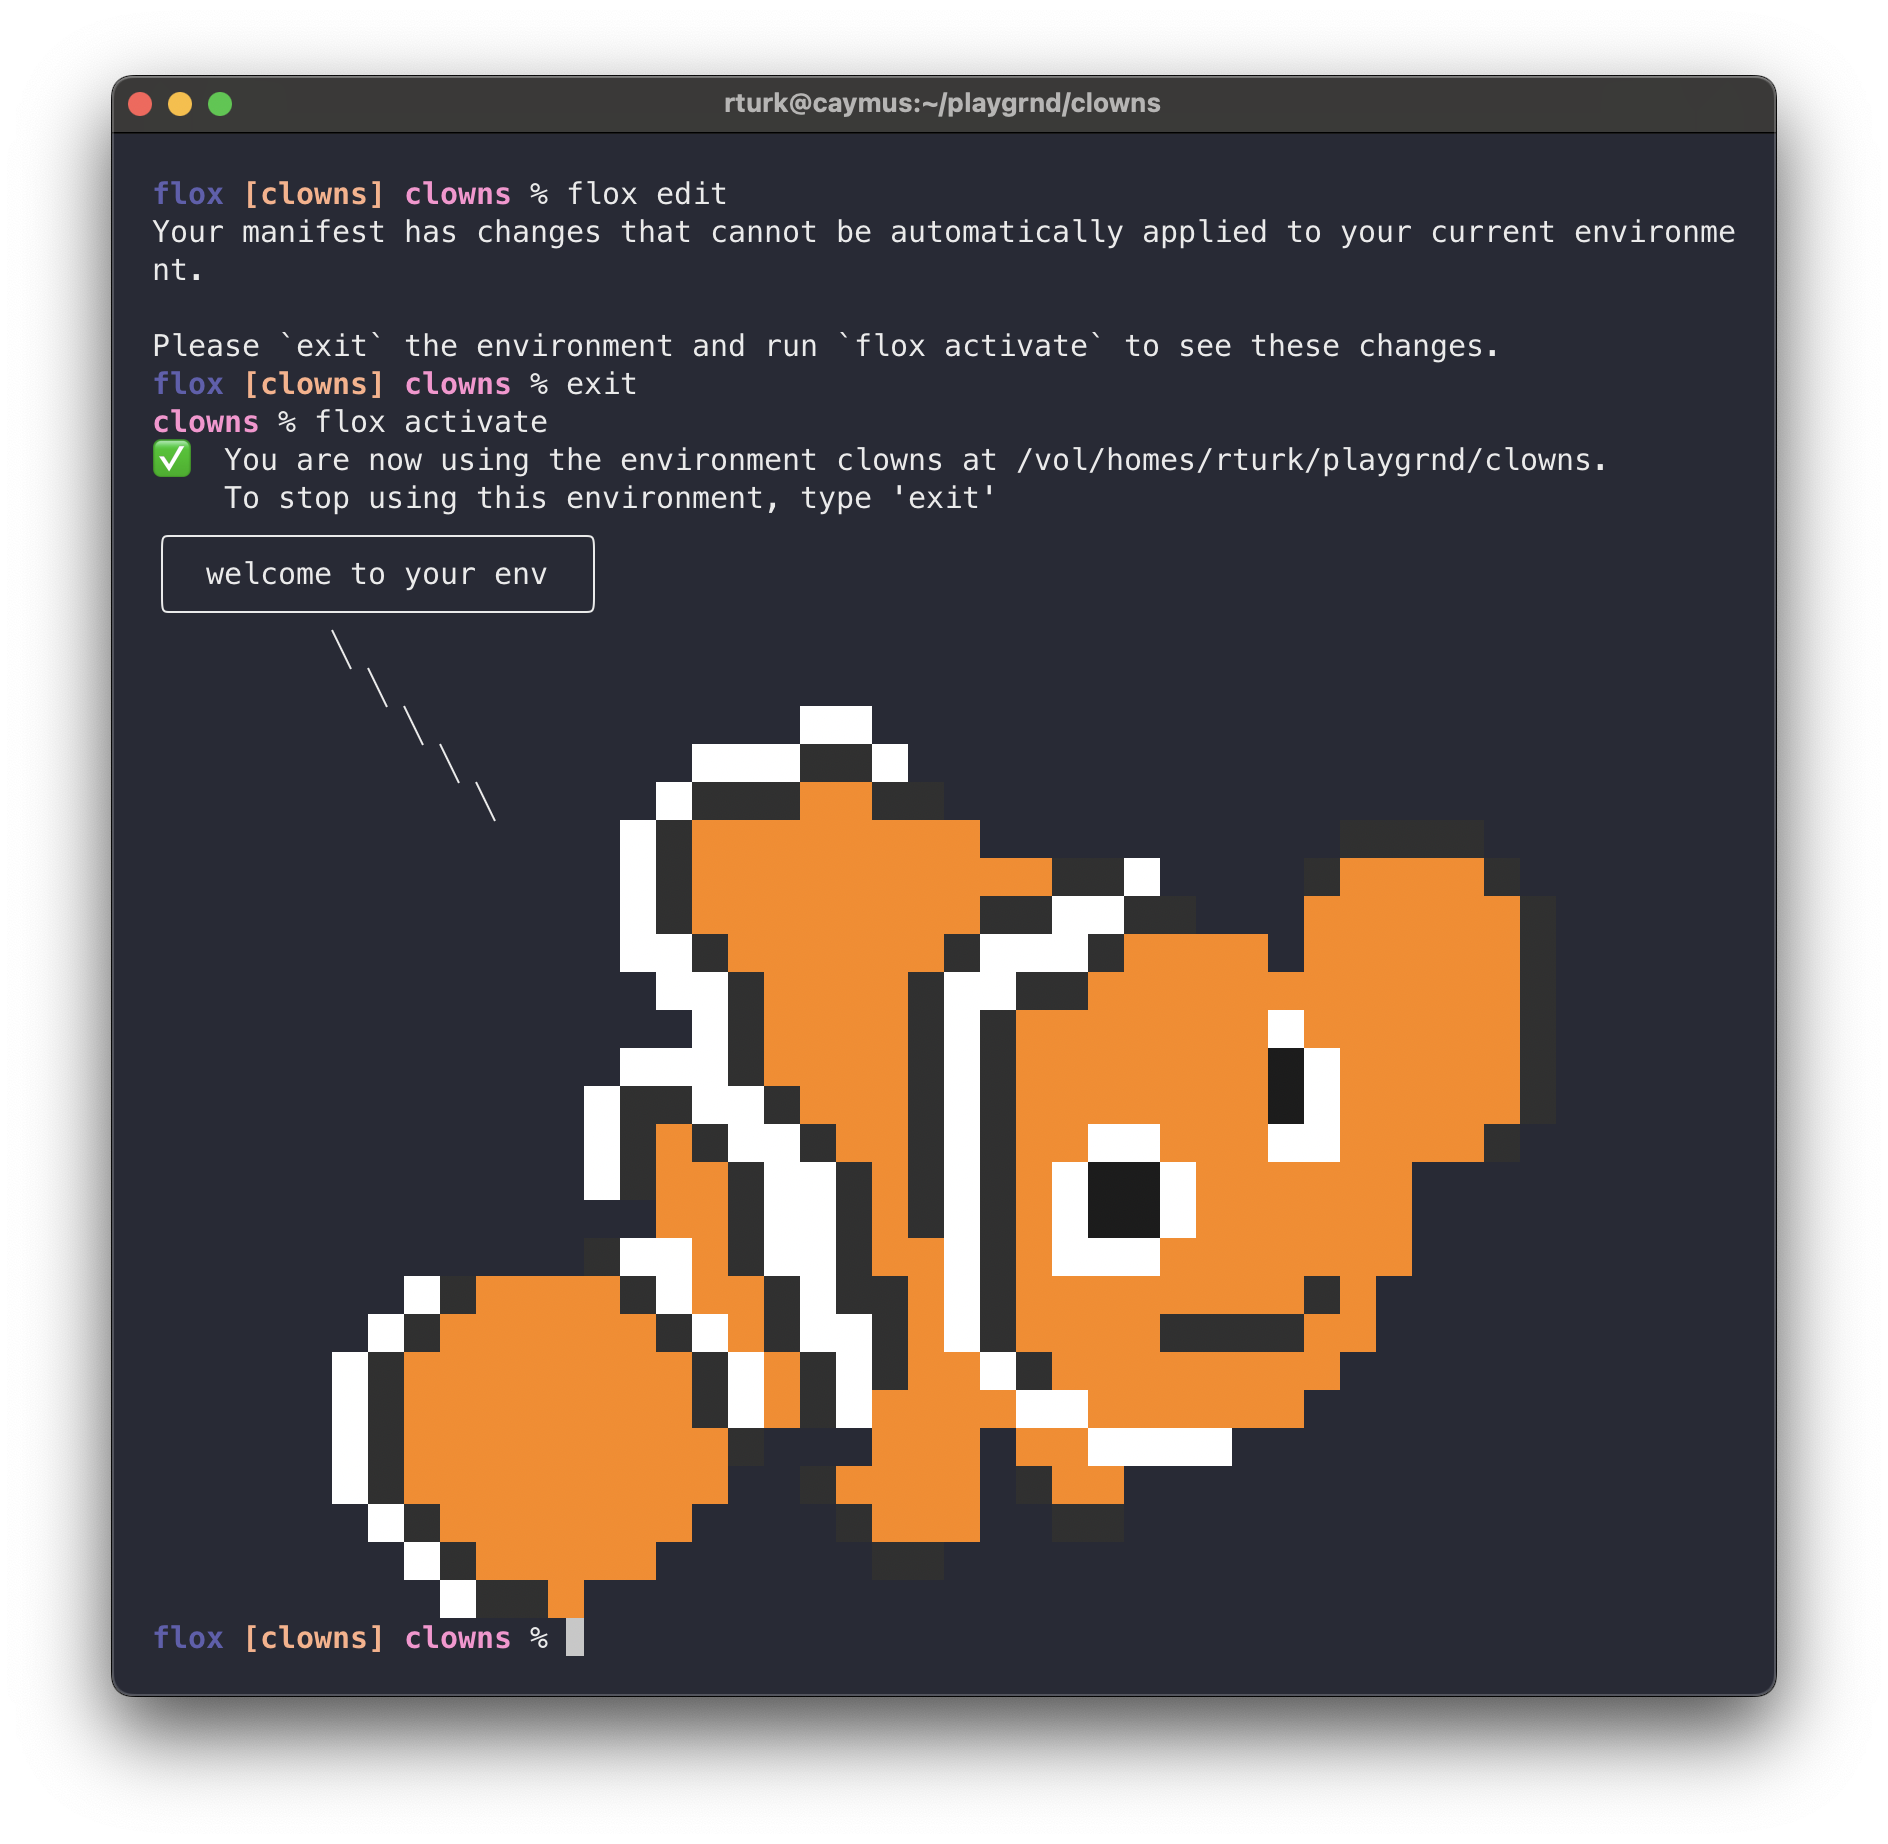
Let’s edit our new environment with flox edit and change the value of our CHARACTER variable to be a clown fish. The final line should look like this:
CHARACTER = "nemo"Once we exit our editor, Flox will rebuild the environment. If we activate it by running flox activate, we will see the gracious and friendly ASCII clownfish we so strongly desired:
Layering
Ready to see Flox do a modest stunt? Try activating your first environment from within your second. That’s not something you can easily pull off with containers or VMs - there is a heavy Inception-like performance and complexity tax in doing so.
But if we change into ~/playgrnd/cows and run flox activate (without exiting from our current clowns subshell), we can see that it overrides our CHARACTER environment variable:
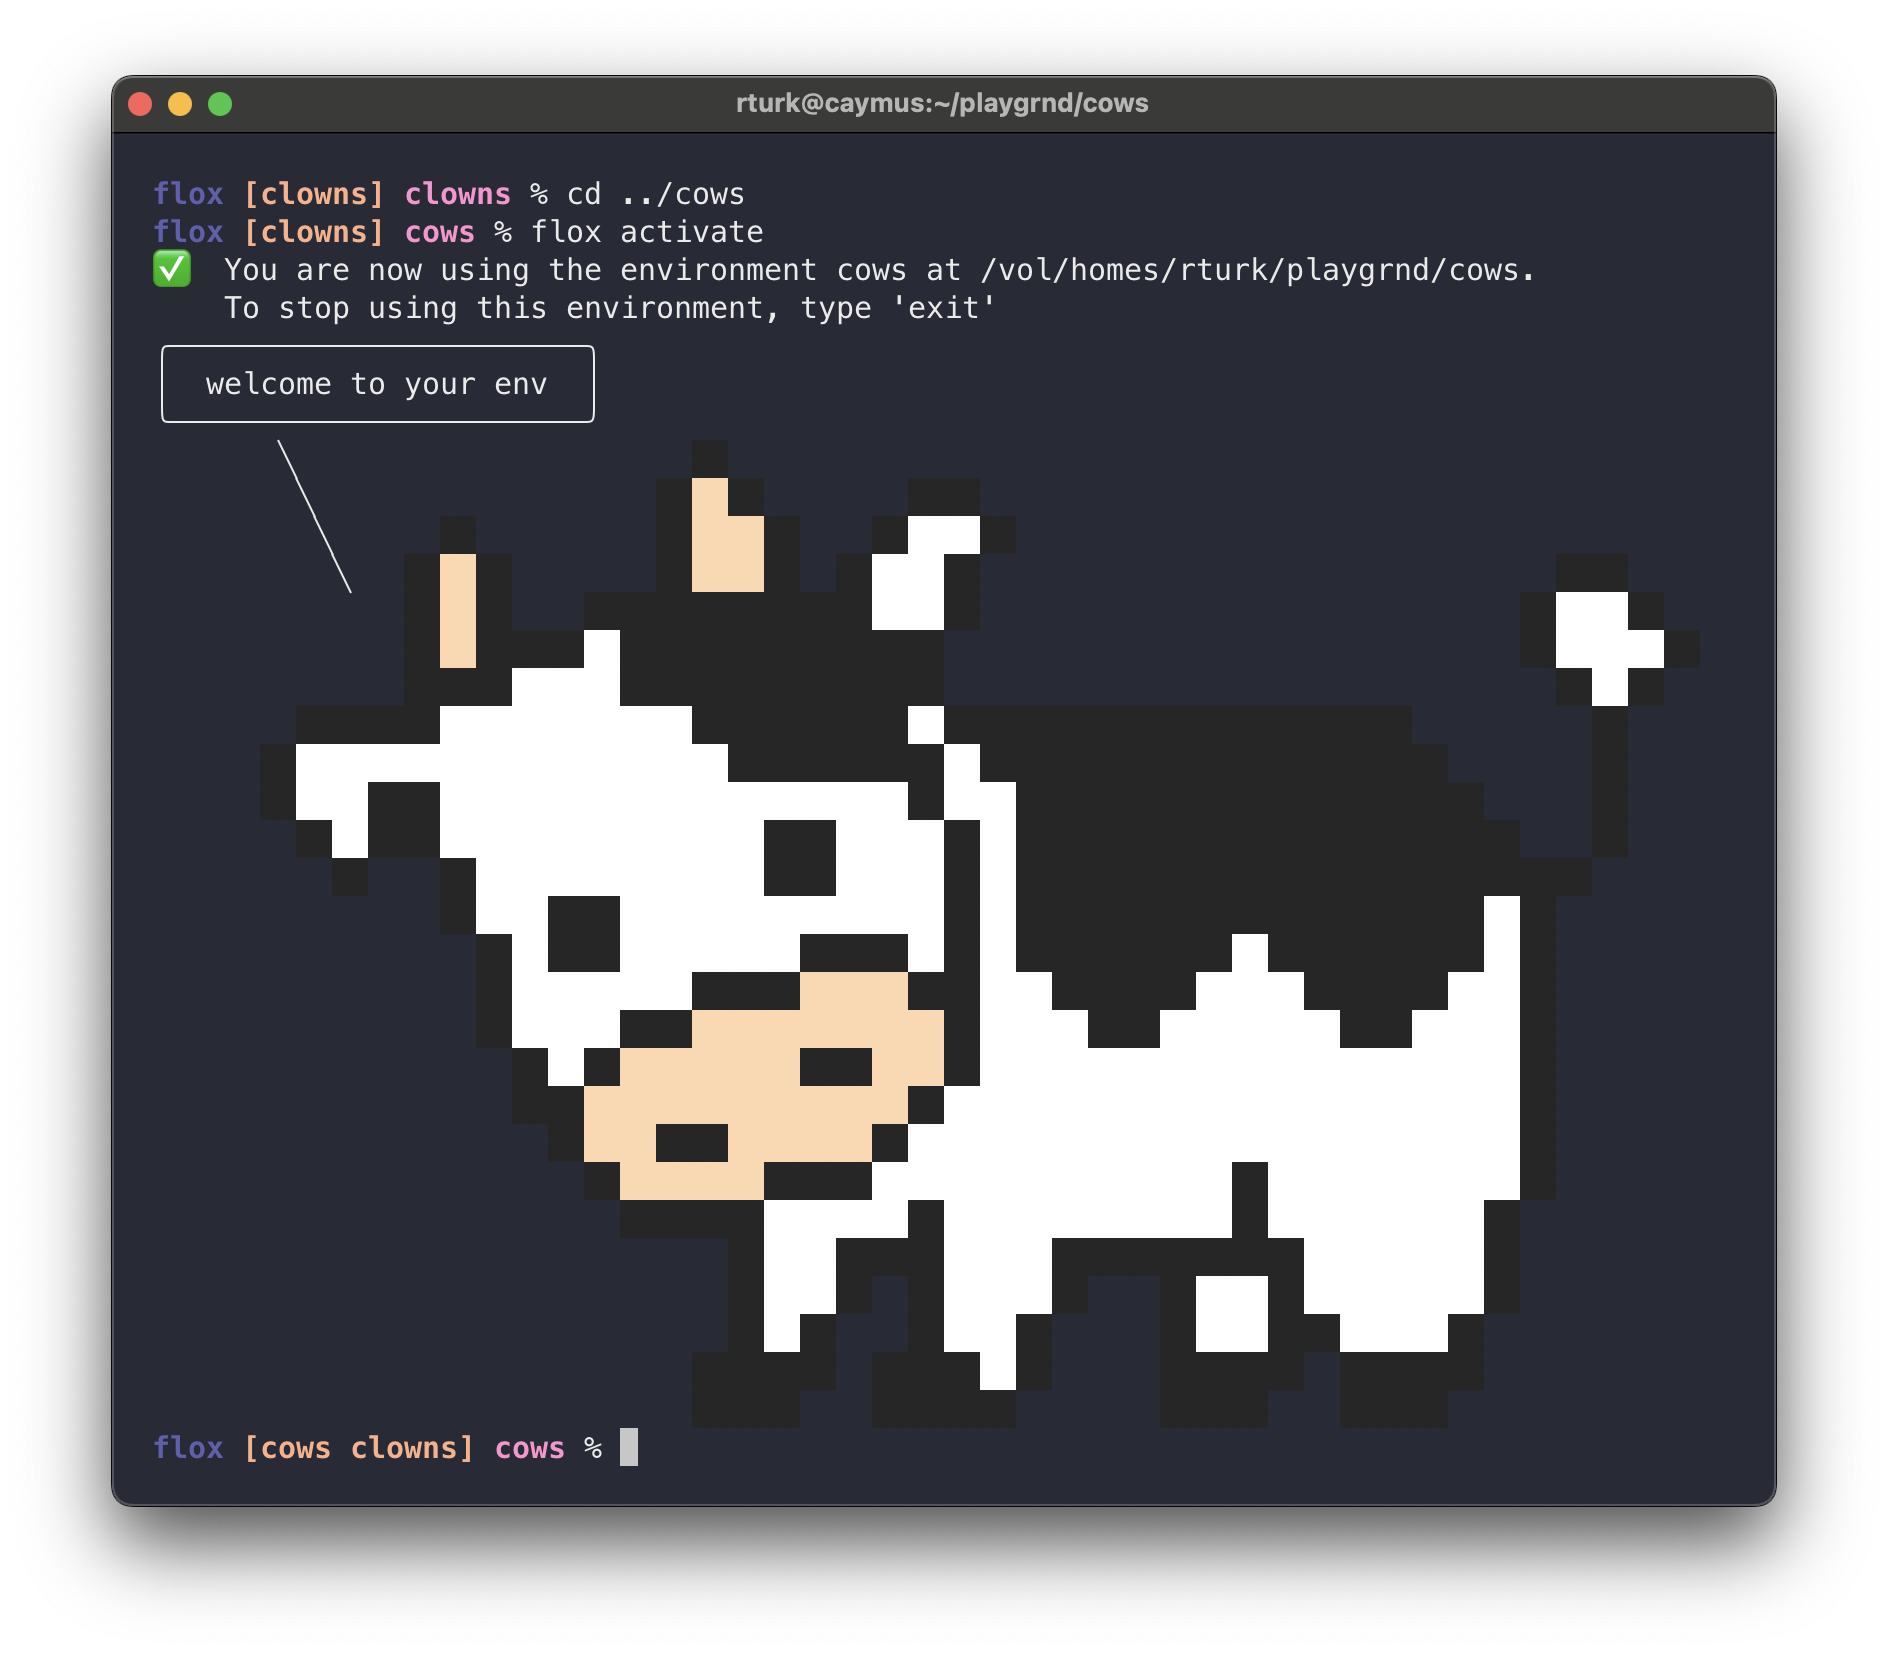
This works just the way you’d expect it to. These Flox environments are a lot like folks living in the Pacific Northwest: they're discrete without being isolated, and they know how to layer. That makes it easy to create things like:
- a “base” environment with all of your development tools, with separate “child” environments for each project you work with regularly
- separate environments for each tool you use, stacked in various combinations as they are needed
- a project environment with “child” environments containing configuration for working with various stages of the SDLC (dev/test/prod)
Pushing and Remote Activation
Of course, we don’t live our entire technical lives within a single operating system. We work across a fleet of desktops, laptops, servers, and instances; we need to be able to move these environments around!
So! Let’s use flox push to send our cows environment to FloxHub. The first time we do this, we’ll be asked to go through a few initialization steps.
% cd ~/playgrnd/cows
% flox push
This will send the environment to FloxHub, where you can view it on the web. Once the environment has been pushed, we can use flox activate -r on a different server to recreate the same environment:
% ssh remote
[...]
remote% flox activate -r rossturk/cows
Using Flox is easy, and gives you access to Nixpkgs, the world’s largest collection of software packages. Download it now and give it a try!